
How it works
From tiles to a
finished spec —
in minutes.
Marmoré turns a pile of tile choices into something you can actually hand over: a shareable moodboard, or a builder-ready Materials & Finishes Schedule. Two paths, same catalogue.
For everyone · free
Moodboard
Collect the tiles you love, arrange them, and export a beautiful branded board to share with anyone. No login, no cost.
Build a moodboard →For designers · builders · developers
Materials Schedule
Produce a NATSPEC-style Materials & Finishes Schedule — codes, grout, joints, quantities and a costed total — straight from your project.
Open the trade portal →Track 01 · Moodboard
A shareable board in three steps.
- 01
Pick your tiles
Browse the catalogue or let Fernando design a room. On any tile, tap “Add to board”. No account needed.
- 02
Build the board
Open your board, drop in as many tiles as you like, add a project name and a note. Everything saves to your device automatically.
- 03
Export & share
Hit “Moodboard & schedule” → Download PDF. You get a clean, Marmoré-branded board with swatches, names, sizes and price per m² — ready to send to your client.
Marmoré · Moodboard
Coastal Bathroom
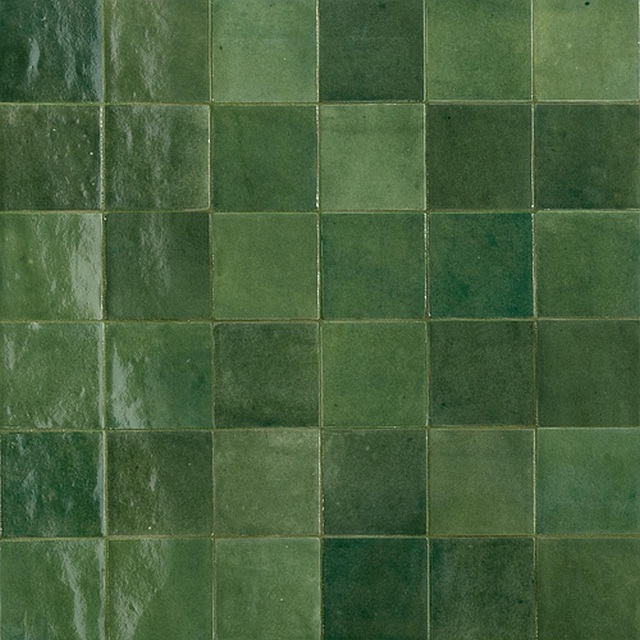
Zellige Bosco
Green · Polished · 100 × 100
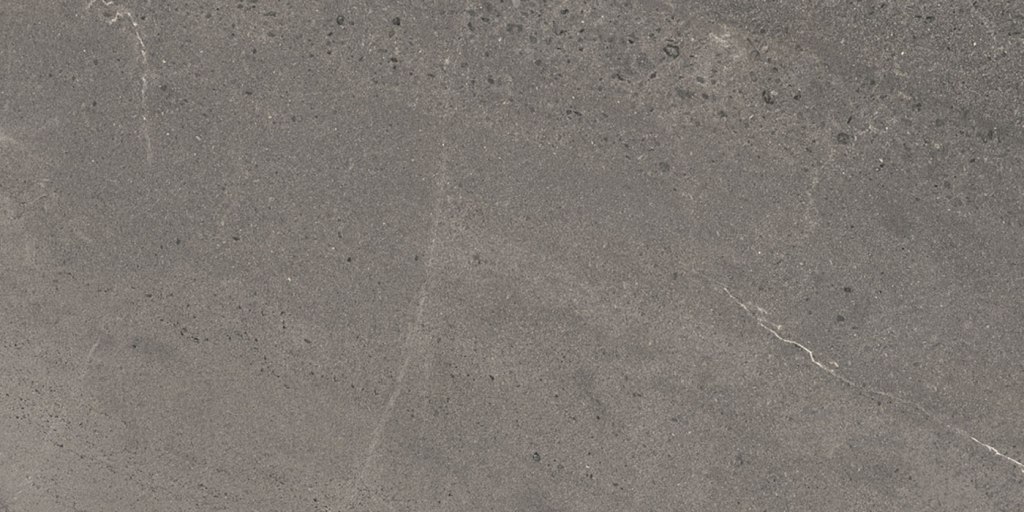
Nordic Svenzia
Medium Grey · Matte · 450 × 900
Tetris Artic
Blue · Polished · 50 × 200
Track 02 · Materials Schedule
The document your builder actually wants.
Marmoré · Materials & Finishes Schedule
Levande — Clubhouse
Nordic Svenzia
Supplier: Integra · Slip: P2
Grout: Smoke · Joint 1.5mm
14 boxes
- 01
Open the trade portal
Sign in at the trade portal with your passcode. Designers, builders and developers get tiered pricing and saved projects.
- 02
Create a project, add tiles
Start a project (e.g. “Levande — Clubhouse”), add tiles and set the m² for each line. Quantities and box counts calculate themselves.
- 03
Set codes, grout & locations
Each tile gets an auto code (T1, WT2…) and a recommended grout — override any of it. Add the indicative location and laying pattern in one tap.
- 04
Download the schedule
Hit “Materials schedule”. You get an architect-grade NATSPEC-style Materials & Finishes Schedule — grouped by floor/wall, with grout, joint, quantities and a costed total. Save as PDF and issue.
What you get
Everything a spec needs — nothing it doesn’t.
Auto codes
T1, WT2… assigned by surface and editable in a tap.
Grout & joint
Mapei + Kerakoll shade matched to each tile, 1.5mm joint.
Quantities
m² and box counts per line, wastage included.
Costed totals
Trade subtotal, GST and an indicative inc-GST total.
Floor / wall split
Grouped into NATSPEC 09300 sub-sections.
Print-ready PDF
Branded, A4, save straight from your browser.
Start with one tile.
Add it to a board, and you’re already halfway to a finished moodboard or a costed schedule.